
Let’s get crafty! (sit back, this is a long one)
My last few posts have kind of been downers. That’s because
I’m starting a new chapter of my life, and I don’t handle transitions well. But
this week has been better. I feel more stable. A lot of that has to do with
loving family, but a lot of it also has to do with coming home to a place that
feels like home, rather than a place that feels like it might have the potential
to become home eventually.
One home project that I completed this week has me so
pleased, I have been inviting just about everyone I’m close to over to see it.
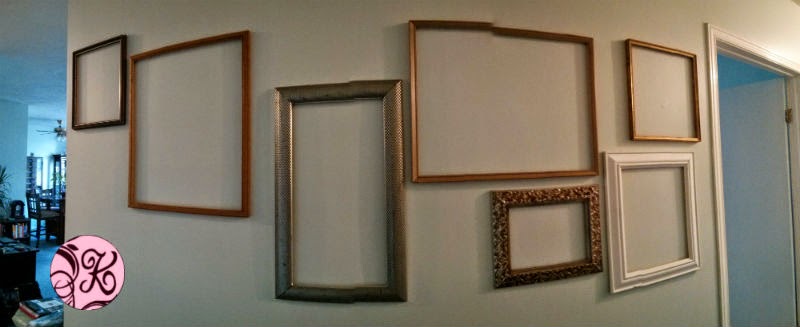
I’ve dubbed it The Wall.

The downside of The Wall is that it does not photograph well
because it takes up a large space in a relatively confined area (a hallway). I
promise, it looks 200-times better in person. I tried taking a panoramic
picture, but it just makes it look like the wall is curved.

Anyways, it’s amazing, and I love it. It looks way better
than nothing at all, that’s for sure:

So, how was it done, you ask?
Well, I started out with what I thought was a decently sized
collection of differently sized and styled frames:

Which gave me a nice little collage… emphasis on the little:

The upside of this stage in my frame art journey is that I decided
to keep the original colours of the frames. I had initially planned to spray
paint the frames in three complimentary colours to give the whole piece a
uniform, modern look, but the charm of these natural colours captured my heart
and they had to stay.
So, the next step in this adventure was to spend an entire Saturday
morning hopping from garage sale to garage sale, expanding my frame collection
with lightning speed. It proved successful. 7 garage sales and $15 later:

All told, I ended up with 24 frames (including the 11 I had
started out with)

Now, if I had been a little smarter about this project, I
would have measured the wall in my hallway and started with those dimensions in
mind. But alas, I did not. I also did not plan in advance how I was going to transfer this layout
from my living room floor to my hallway wall. This added an unnecessary
additional intermediary step later on.
What I actually did was lay out the frames in a
way that looked nice to me with very little regard to these restraints.

Then I put a number label on each of the frames, took a
picture of the layout, and numbered the corresponding frames in the picture.

That’s when I measured it and realized my layout was 2” too
long. Not a huge problem. Just requires some squishing. 2” isn’t that much when
you’re working within a 90” space.
So, with my new measurement, and my numbered photo on hand,
I cleared the frames from my floor and rolled out a piece of wrapping paper,
cut to 90”. With a little bit of forethought, I would have rolled out the
wrapping paper before starting my layout. This missed step had to be remedied at
this point.
I used the labeled photo to lay the first layer of frames on
the paper, squishing them a little closer than in the photo to adjust for the 2”
size difference. Then I used a Sharpie to mark where the nails would go in the
wall to support these frames. Each frame hangs on two nails to ensure
stability.

I taped that paper on the wall, and put nails in each of the
“X”s.

Tear the paper off the wall and mount the frames:

It was at this point that I hit a little bit of a road
block. How would I hang the second layer of frames on top of the first layer? I
read a couple of blog entries about doing this. One suggested simply getting
longer nails, and nailing them into the wall so that they stuck out enough for
the second layer of frames to rest on. While this seemed easy enough, it also
seemed like it would be a little ugly because you would see the nails. I tried
it out and was less than satisfied with the results.

Another blog gave very detailed instructions on how to nail
the frames to each other. This was closer to what I was looking for, but I did
not have all the tools necessary to do it, and I wanted to be able to take the
frames back apart if needed. My apartment is a rental after all; I won’t be
living here forever.
In the end, I took inspiration from the second blog (I would
link, but that post seems to have been taken down from her blog), and crafted
my own way to non-permanently attach the second layered frames to the first
layered frames.
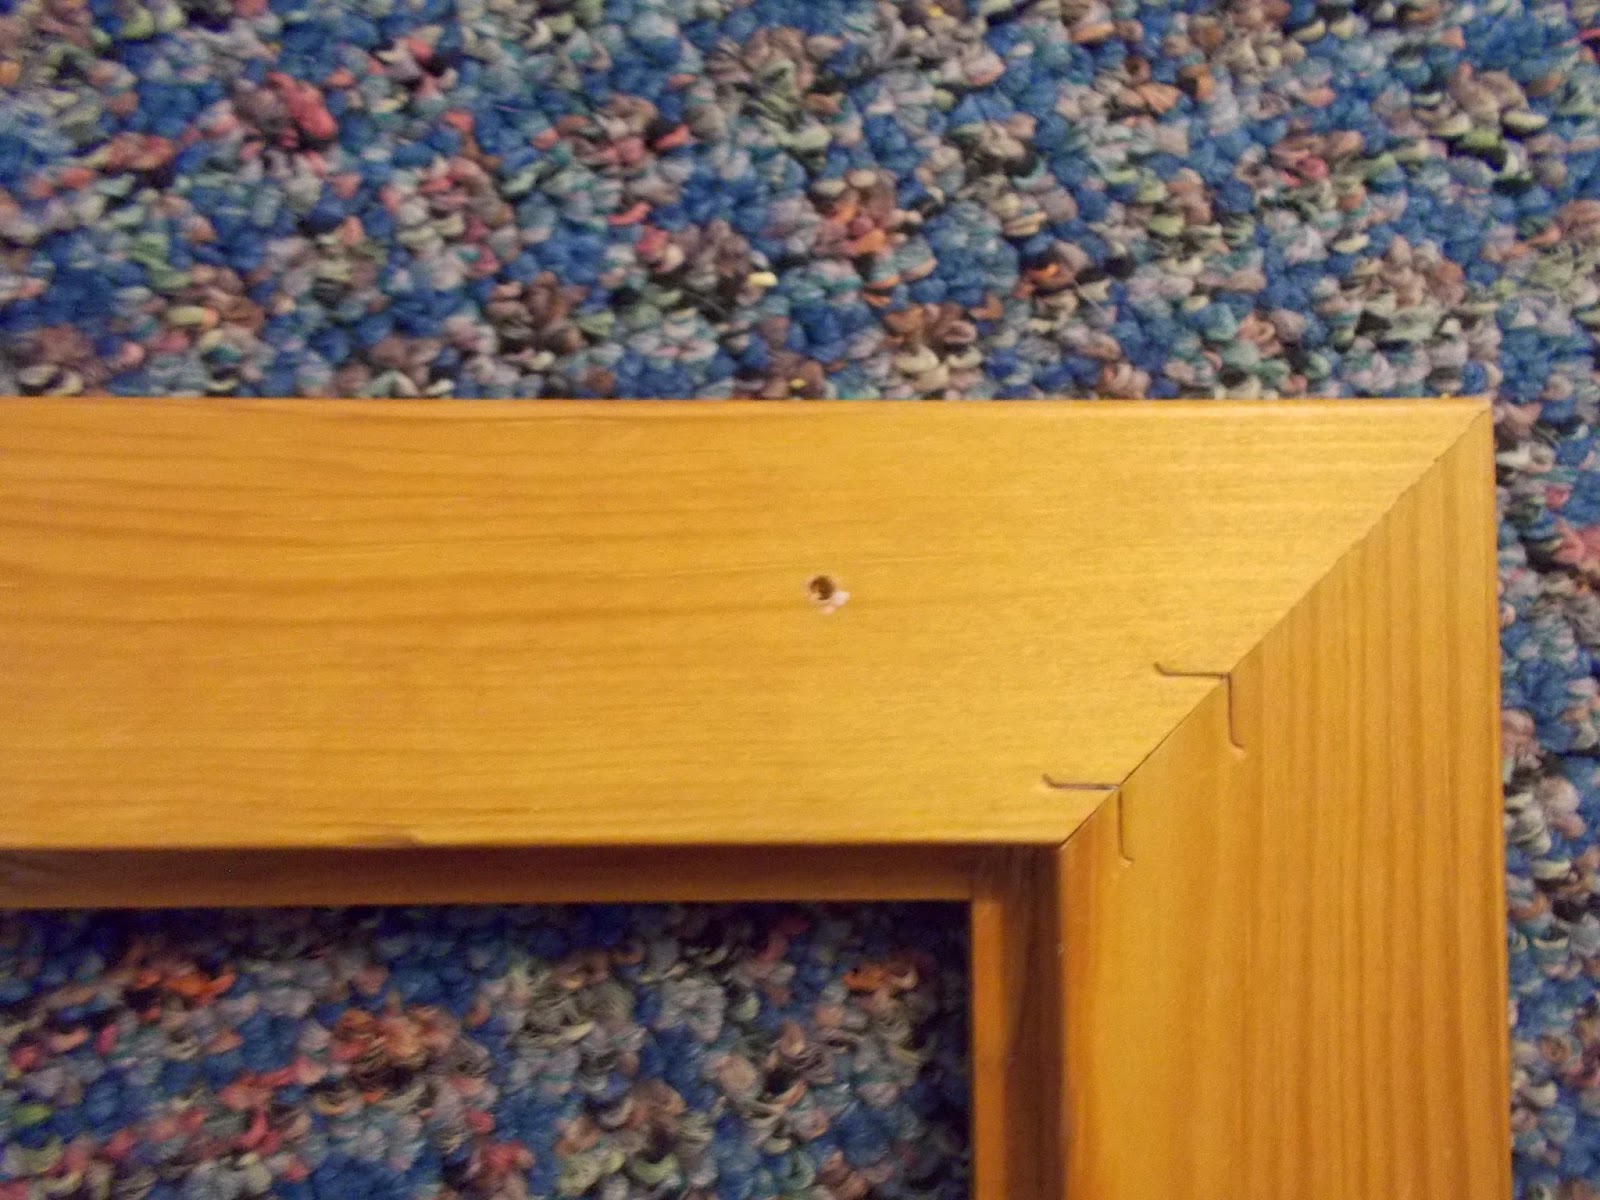
I began with nailing tiny finishing nails (1/2”) to the nice
side of the first layer frames in places where they intersected with second
layer frames. Again, I put nails in two intersection points for each second
layer frame to ensure stability.

I slathered a little bit of putty on each finishing nail,
and then hovered the second layer frame in front of the first layer frame in
the position in which I wanted it to be. I lightly pressed the back side of the
second layer frame against the nails in the first layer frame so that the putty
would mark where the nails made contact. (I had putty out to fill in the holes
from my long-nail trial for second layer hanging, but any substance of that
consistency would work: peanut butter, tooth paste, etc.).
Then I simply
drilled small holes in the back side of the second layer frame where the putty
marks indicated. Don’t drill all the way through, just far enough to accommodate
the finishing nail in the first layer frame.
Then it’s a simple game of lining up the hole with the nail
(sometimes not so simple, and once in a while requiring new holes to be
drilled). Repeat this process for each second layer frame and viola:
One thing I like about the non-permanent attachment of these
frames is that you can move them around at any time. For instance, after
walking by this piece for 3 days, I decided to move one frame to a different
location to fill in a relatively empty spot. I also like that this piece can be
added to pretty much indefinitely. I already have plans to add two more frames
once I find some that I like.
Now, the one question I’ve gotten from quite a few friends
who have seen The Wall thus far is “are you going to put anything in the
frames?”
To those people, I smack my forehead in exasperation and
sigh “you’re missing the point.” The
frames are the art. Look at the
bigger picture.
The bigger picture is beautiful.
I have read your blog it is very helpful for me. I want to say thanks to you. I have bookmark your site for future updates.
ReplyDeleteΘωρακισμένες πόρτες
This is a great post. I like this topic.This site has lots of advantage.I found many interesting things from this site. It helps me in many ways.Thanks for posting this again.
ReplyDeleteHome Decor