
I found something so delicious, it will knock your socks
off!
Banana Cream CAKE!

So much goodness…. You can’t understand the goodness!
I originally found this recipe on The Country Cook
and copied it very closely. It was just that perfectly amazing already. She
calls it a banana pudding poke cake, which is far more descriptive and. But when
I tasted the finish product, I said to myself “this tastes just like banana
cream pie… but it’s a cake… it’s banana cream cake!” and my life was forever
changed.
Over on The Country Cook
, she also has a few other poke cakes that she has tried with success, but I
couldn’t be happier with banana pudding, so that’s it for me. Essentially, you
could use any type of cake, and pair it with any type of pudding (or Jello!) and
have a new creation.
On to the banana cream cake!
Ingredients

- 1 package of yellow cake mix
- The ingredients needed for the cake mix (eggs, water, vegetable oil)
- 2 packages of instant banana pudding
- 4 cups of milk
- 1 tub of frozen whipped topping (thawed)
- 30 vanilla wafers
Directions
Bake the cake according to the directions on the packaging.
My directions (which are the directions used for most cake mixes, I believe)
were to add 3 eggs, 1 cup of water, and ½ cup of vegetable oil to the mix, mix
it on medium speed for 2 minutes, pour into a 13”x9” pan, and bake at 325° for 30
minutes.
Once the cake is baked, and has cooled for about 10 minutes,
poke it with something to make a grid pattern, like this:

Well equipped kitchens will have wooden spoons, of which the
tip of the handle would make a lovely poker. I do not have wooden spoons, so I
detached the little stopper post from my paper towel holder and used that. It
worked!
Next, make your pudding according to the packaging
directions. Remember, you have two packages of pudding, so you double the milk.
Let it set in the fridge for only 1 minute! You do not want your pudding
to be fully set, just slightly viscous. After a minute, pour the pudding on top
of your cake.

Use a spoon, or a silicone scraper (which is what I use for
all my cooking needs) to push the pudding down into the holes you poked in the
cake, and spread the pudding evenly over the top of the cake.

Allow that to set in the fridge until the cake and pudding
are cool. I waited until the bottom of the pan was cool.
Once everything is set, spread the whipped topping over the
pudding.

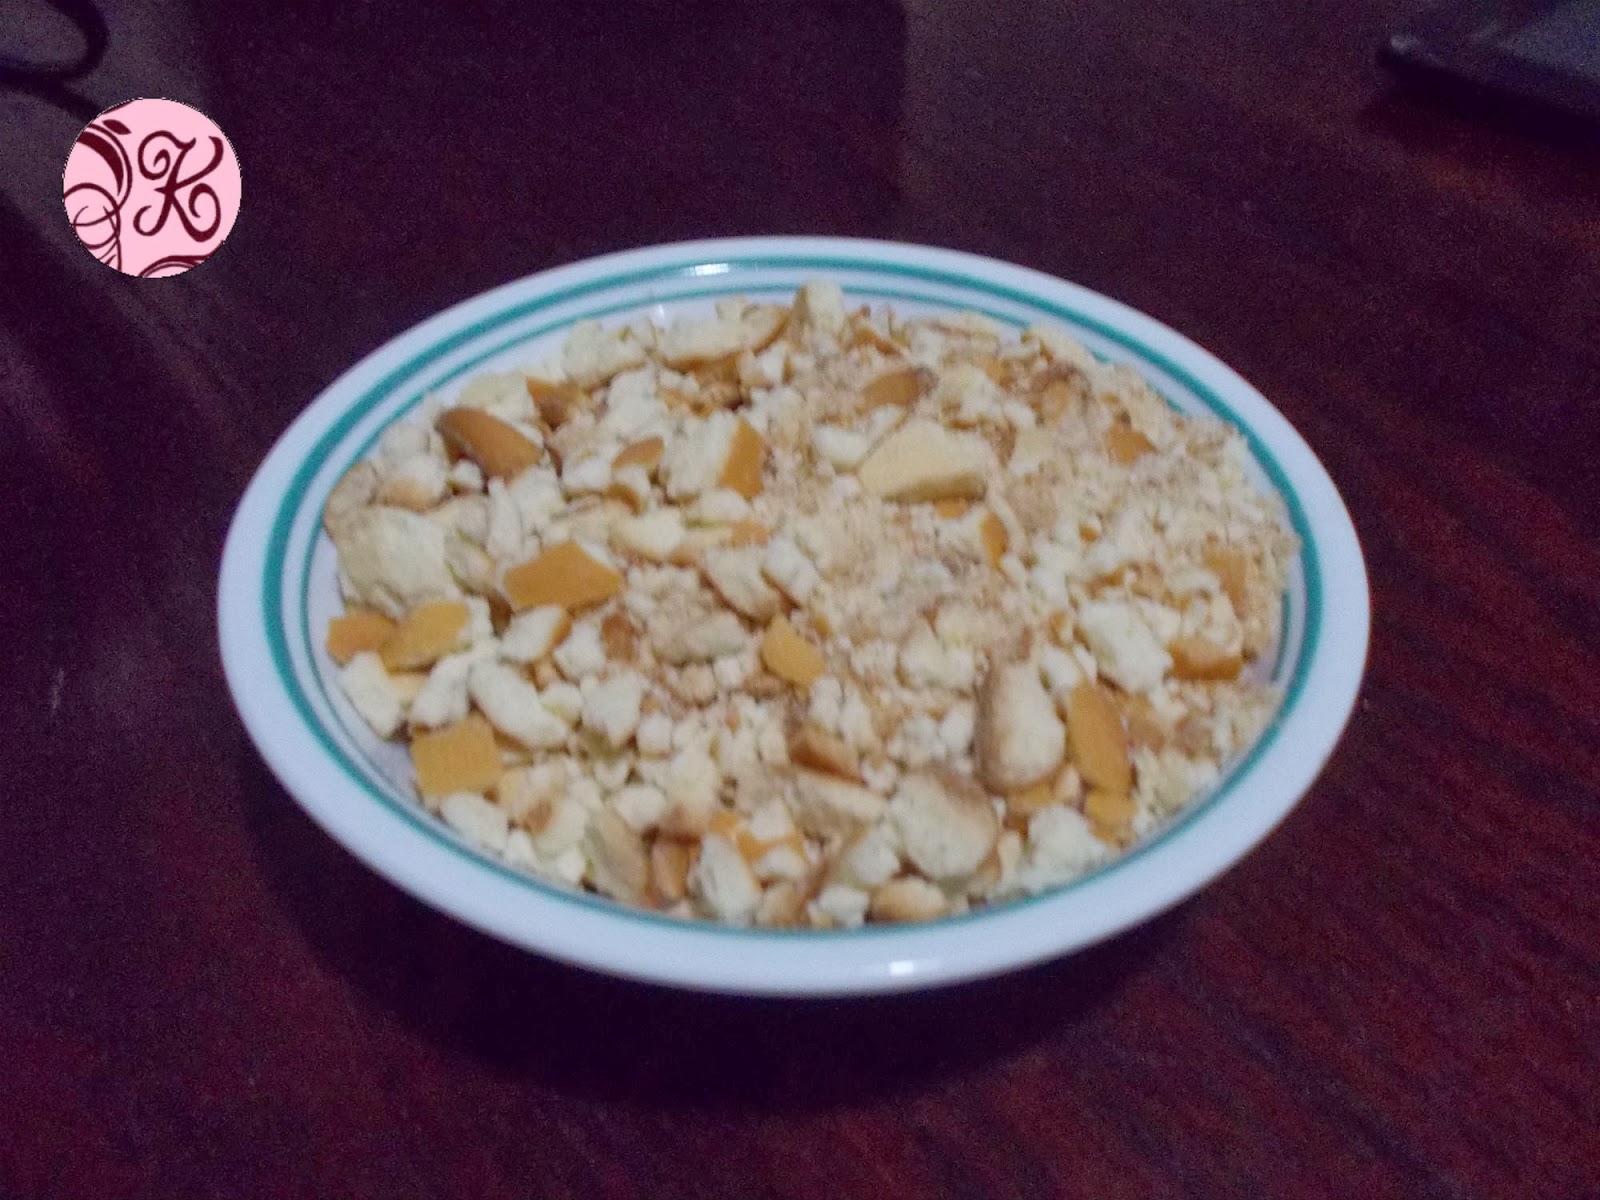
Crushing the vanilla wafers was a fun step. I put mine in a
sturdy ziplock bag and beat it with my wooden rolling pin. You do what you
gotta do…
Sprinkle the vanilla wafers over the whipped cream, and you
are done!

If you like crispy wafers (and don’t plan on eating the
whole cake in one sitting…), only put the wafers on the piece that you’re
eating. The whipped cream does make the wafers mushy over time. But I kind of prefer
it that way.
Next time I make this cake, I’m going to divide it into
single serving trays (like cupcakes, but bigger, and not attached all to one
pan) and try freezing it. Eating this whole cake myself in a week probably was
not the healthiest choice with regards to moderation. But it was definitely the
best choice for awesomeness!
No comments:
Post a Comment